
Reverse-engineering an OOK remote with GNU Radio
Baby's first GNU Radio flowgraph
Published on Feb 20 2026
Preamble
Recently the concept of RF hacking has captured my imagination. In this context, “hacking” is being used strictly in the original sense of the word: tinkering with and figuring out how stuff works. We’re stopping well short of things like spoofing/replay attacks and opening garage doors with a Flipper Zero. Sure there’s lots to learn and figure out there, but there is also a bit of a trap where you land in skiddie-adjacent territory. Sure you learned how to do the thing, but without taking it upon yourself to research the nuts and bolts, you didn’t learn how the thing works.
Dreaming of being RF hackerman
Specifically the particular aspects of RF hacking that are really grabbing my attention are digital modes (if you’re a computer person, think protocols, kinda) and how different types of modulation can be used to convey digital information over RF.
It’s a pretty neat intersection for people who have at least a little bit of interest in computer stuff, hardware stuff, and RF stuff.
And so, I’ve been learning a little bit about GNU Radio, and daydreaming that eventually, armed with enough knowledge I might be able to reverse engineer that funny looking telemetry data that RadioReference says is coming from my local water plant. An even more fantastical dream would be to find some telemetry data that’s not catalogued online and has no publicly identified source, and discover some interesting data floating in the ether. The world around you is generally full of this kind of telemetry, from ICS/SCADA systems, traffic lights, and much much more mundane things too. We’re going to focus on the mundane today, and for very good reason:
Approaching the unknown
RF is hard. It’s complicated stuff, and so is GNU Radio. I thought a pet project like decoding DTMF tones from one of my ham radios would be cool - maybe even doing some extremely cursed home automation from one of my handheld transceivers. However, that would be biting off more than I can currently chew.
<rant>
The problem with biting off more than you can chew in current_year() is that I know exactly how it will go: it would quickly devolve into a non-stop Q&A session with ChatGPT, and I would never really learn or do much of anything, I’d just be babysitting a clanker. I’d come away with an extremely shallow understanding of anything learned, and would barely understand the first principles behind it. Any follow-up questions or further interrogation to try and disambiguate would yield answers that would be based on false pretenses that I unwillingly helped create based on the scope and accuracy of the information I’m able to provide.
Worse still, I would have learned very little, and the information I pieced together is liable to be straight up incorrect (yes, your stream of OOK bits indicates this! except it doesn’t, at all). I’d rather have no information in my brain about a particular topic than have a completely warped and foundationally incorrect understanding of something based on a fever-dream. I’d like to try and avoid the whole Dunning-Kruger situation that comes with using an LLM. Having a sycophantic and extremely persuasive voice that excels at sounding authoritative and correct makes for a whole lot of useless noise.
Anyways. I want to start at some level where I actually do the work and solve the problem, and maybe we ask a clanker a question or two about some obscure GNU Radio idiosyncrasies that would have required posting on a forum to have answered. That I’m ok with.
</rant>
So with that in mind, I found the simplest RF device I have - a dinky little toy(?) remote. For a couple of reasons which will become clear later on, I have a pretty high degree of confidence that this device is simple enough that I can wrap my head around it, mostly on my own.
Plan Of Attack
1. Quick sanity check with a Flipper Zero
2. Proper analysis with GNU Radio
Results from the Flipper
In order to read a signal on the Flipper Zero we need to known (at a minimum) the frequency as well as the modulation type. Luckily, we already know both of these things:
The frequency (315MHz) is easily found online. Plus when I first bought the remote and the frequency was unknown, I hunted it down with an SDR. If we had one of the 433MHz models, the same principles of hunting it down with an SDR (or a Flipper) would apply. So long as we’re assuming the device uses On-Off Keying (OOK), we know that it uses Amplitude Modulation (AM). With those settings selected on the Flipper, we listen for a signal and press the A button on our remote:
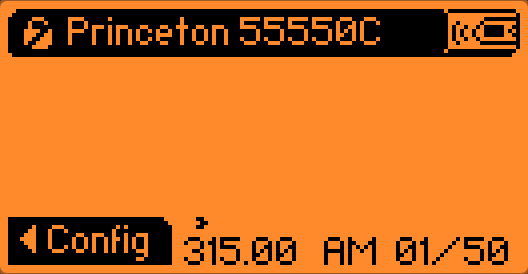
It immediately recognizes the signal, which is great, assuming it has correctly identified/categorized the signal and isn’t making it for another make/model.
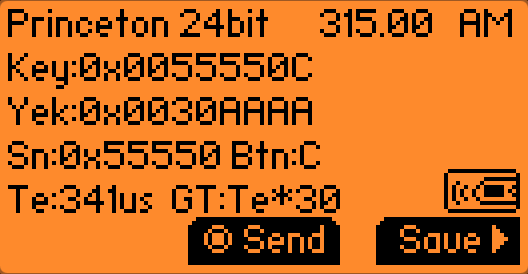 Button A
| Remote Button | Full Data (Hex) | Serial Number (Hex) | Button/Command Data (Hex) |
|---|---|---|---|
| A | 0x0055550C | 0x0055550 | 0xC |
What we get back is the full 24-bits of data. Because there’s no explicit determination about most-significant bit or least-significant bit, the Flipper provides Key and Yek, both containing the same data in reverse.
Chucking the hex values into an online binary calculator will usually yield a 32-bit wide value.
If you squint your eyes a little bit, and start reading the 0s and 1s of Yek backwards (from right-to-left) you’ll see that they match the values for Key.
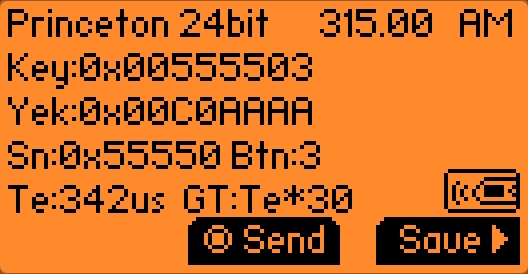
 Button B
 Button C
 Button D
The remote
The remote in question is one of these things:

Image credit: rodot.tech
It’s a cheap Chinesium RF remote that’s commonly stocked by hobby electronics and robotics shops. I don’t really know why they make these. I don’t really know why I bought one. I just thought huh neat, it would be cool to control something over RF someday. Apparently lots of people share that sentiment.
I picked up mine (along with a massive bundle of other odds and ends) when Creatron (a Canadian hobbyist electronics store and tinkerers paradise) was having a closing sale (RIP to a real one, I bought my first Arduino there ❤️).
Discoveries from internet sleuthing
Finding this remote on the internet yields a few very important pieces of information. First
Identifying the frequency
This particular remote doesn’t use the 433MHz ISM band, but rather chills out in the ~310MHz range. I determined this with dumb bruteforce with some SDR software and a hunch when I bought it. Then I printed a label with the frequency on the back of the unit before putting it back in a parts box and forgetting about it for a year or more.
It operates in a part of the spectrum that is supposedly used by low power / license-exempt devices, however I don’t see any explicit section of the Canadian table of frequency allocations (also known by its funner name, TAFL, as in raffle with a T) allowing these devices.
knFrom what I recall, the baggy the remote came in never mentioned what frequency it operates on, or really any other information about the device. It wasn’t until I tried googling around for a picture of the remote for this blog post that I found out some information like the frequency and chipset. In hindsight, that’s the kind of information one would ideally look up first.
Knowing the IC used in this transmitter would have made a big difference, as
Assuming you come across one of these devices (or any mystery device), looking up the FCC ID is a great start for information gathering, assuming it actually has one. Short of that you can infer based on the use case of the device what common frequencies they tend to congregate at, and then narrow it down exactly with an SDR. Luckily this device is so simple that we aren’t dealing with any kind of frequency hopping, which vastly simplifies things.
Identifying the modulation type
Honestly, I just purely assumed going into this that the remote would use a scheme known as on-off keying (OOK). This was a fair assumption as it’s very commonly used in things like car FOBs, garage door openers, etc. This remote is definitely in the same ballpark as one of those devices, just even dumber (it doesn’t use rolling codes for starters).
In hindsight, I’m not actually sure what this project would have looked like had the remote not used OOK. I suppose eventually it would have become obvious that our intuition wasn’t lining up with reality, and at that point the project would have gotten a lot more tangly. So I’m fortunate it was something simple to start off with, lest I have to rely on a clanker to hold my hand.
On-Off Keying (OOK)
To greatly oversimplify, on-off keying is basically transmitting (keying) a signal on and off, with some corresponding scheme or pattern that makes the signal intelligible as information/data. Technically this is conceptually the same as CW (a.k.a Morse code via radio), but in this case it’s binary data.
Capturing the signal for analysis
In order to analyze the signal, I recorded it with an SDR dongle and saved the raw I/Q recording using GQRX. I’m partial to SDR++ for general usage, but I was unsuccessful getting a proper raw I/Q recording in SDR++ (spoiler: it was user error), so I fell back to what I knew best.
The remote has four buttons on it, so I simply pressed each button (with a bit of space in-between) so that the data from all 4 buttons can be analyzed.
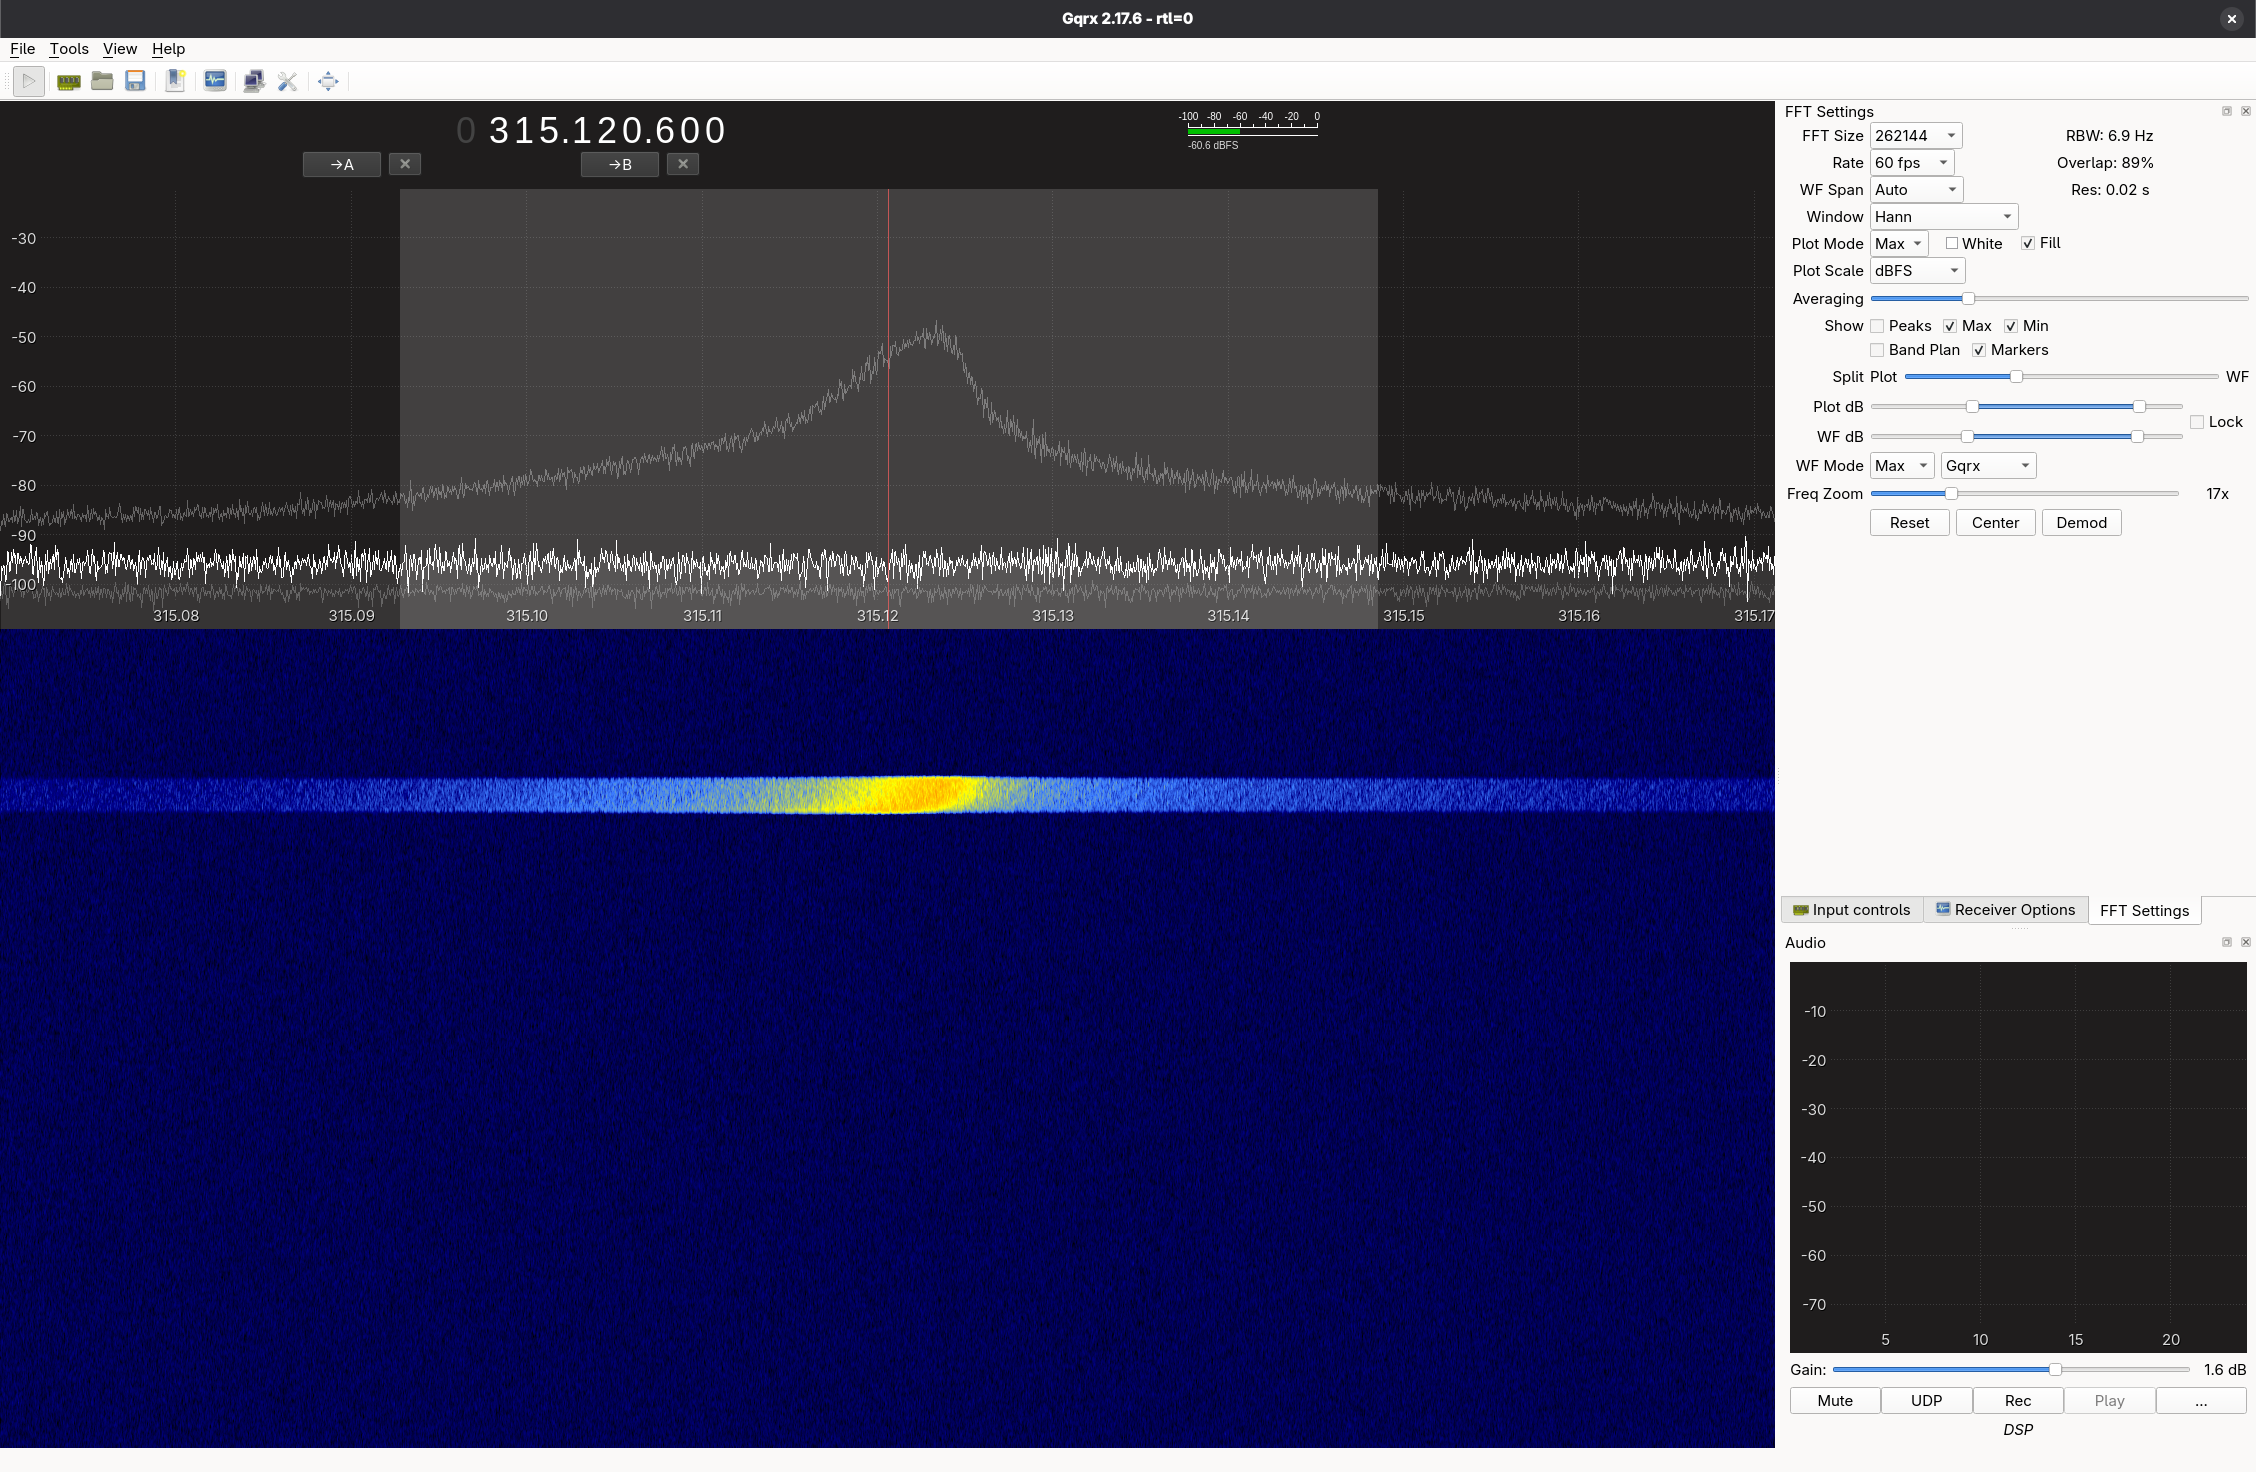 It’s not much to look at on a waterfall, but it’s our first button press.
At this point, the SDR waterfall doesn’t present us with any information pointing towards OOK (at least none that I can see). It does rule out a bunch of modulation types, as some of them have a visual signature (for lack of a better word) that would stand out on a waterfall.
In fact there’s an entire website called the Signal Identification Wiki which provides lots of reference audio and waterfall screenshots for trying to identify signals. But this? This is just a blob. In my unprofessional opinion.
GNU Radio
The next step is to bring the raw I/Q recording into GNU Radio to try and analyze it somehow.
After creating a new flowgraph in GNU Radio Companion, I changed the samp_rate variable to 1.8e6 (1.8M) to match the settings in GQRX from the SDR. While I conceptually understand what a sample rate is, sample rates end up being used a bunch in calculations and DSP and what not. The first quirky occurrence of sample rate is in the Throttle block. As I understand it, we’re essentially telling GNU Radio to process our File Source at that “speed” (for lack of a better term). Otherwise, GNU Radio would churn through the file as fast as our CPU could handle, and everything would be over in the blink of an eye.
Then we have a Complex to Mag block. I’m going to level with you, I have a razor thin understanding of what this does at the time of writing. The technical explanation behind it delves into SDR theory, but as I understand it in laymans terms, we’re basically looking at a very complicated piece of data from our SDR and simply saying “Hey can we just have the amplitude please?”
This tracks given that OOK modulates the amplitude of the signal (on and off). We’re basically at an all-you-can-eat buffet of data, but really all we care about is getting some spring rolls, or something. Hopefully you get the picture.
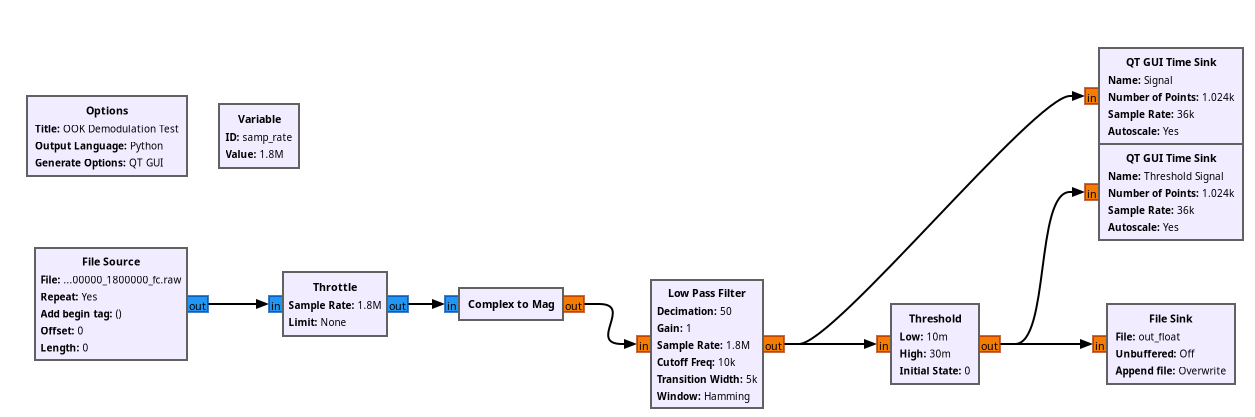
Then we have a Low Pass Filter block. A low-pass filter (as the name implies) allows “low” frequencies to pass while attenuating higher frequencies. What constitutes “low” or “high” is determined by the Cutoff Frequency. This is essentially another form of ‘getting rid of food we aren’t interested in eating’. The lowpass filter is also doing something important called Decimation. Continuing to beat the buffet metaphor to death, decimation is essentially us deciding to take a whole bunch of food off of our plate that we aren’t interested in eating. We are literally decimating it, as in removing a percentage of something. This is because our original sample rate of 1.8e6 is extremely overkill. We can’t eat 1.8 million spring rolls, nor do we even want to have to deal with that many.
So, we use a value of 50 for the decimation. We’re essentially dividing our sample rate by that value, which gives us 36,000. Later on in the QT GUI Time Sink blocks (more on those later), you’ll see that we’re using a sample rate of 36k instead of 1.8M.
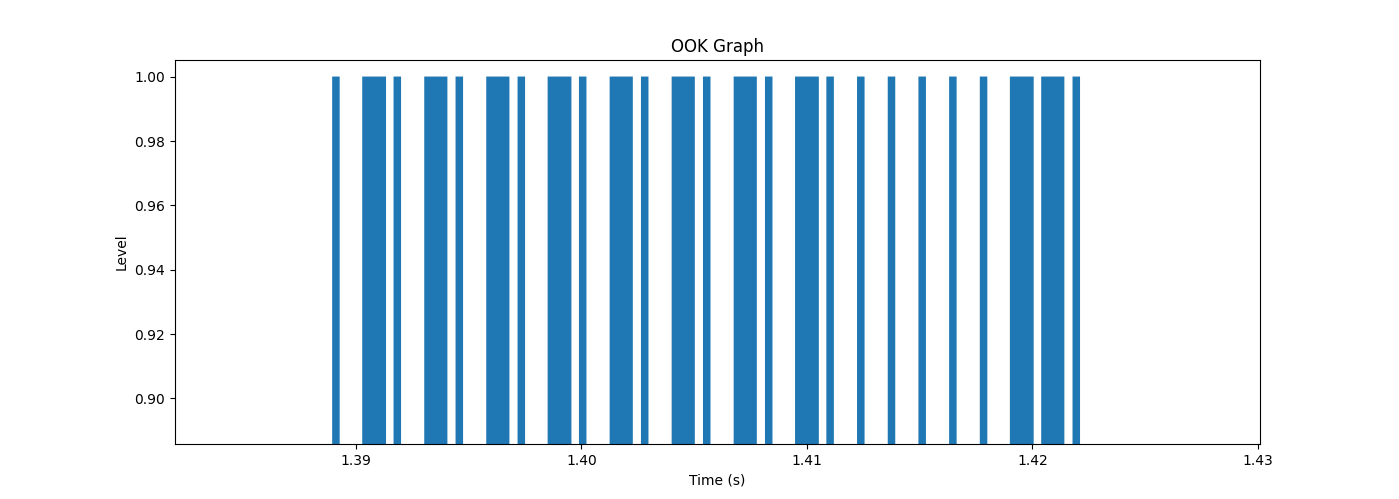
The Threshold block is the final pass on cleaning up our signal. We’re essentially trying to take a stream of arbitrary amplitude values and spit out one value for all the amplitudes above the threshold, and spit out another value for all the amplitudes below the threshold. Because on-off keying comes down to “the signal is either on or off”, this is exactly what we need to go from an arbitrary yet sort-of binary looking signal to one that is clamped to 0 or 1.
Note: Of the (many) areas for improvement in this flow graph, one of them is the fact that our threshold minimum and maximum values are hardcoded. So as soon as we pull in a different recording, our Threshold block is going to totally cease to function correctly.
The easiest way to understand the Threshold block is by looking at what it does visually to the signal.
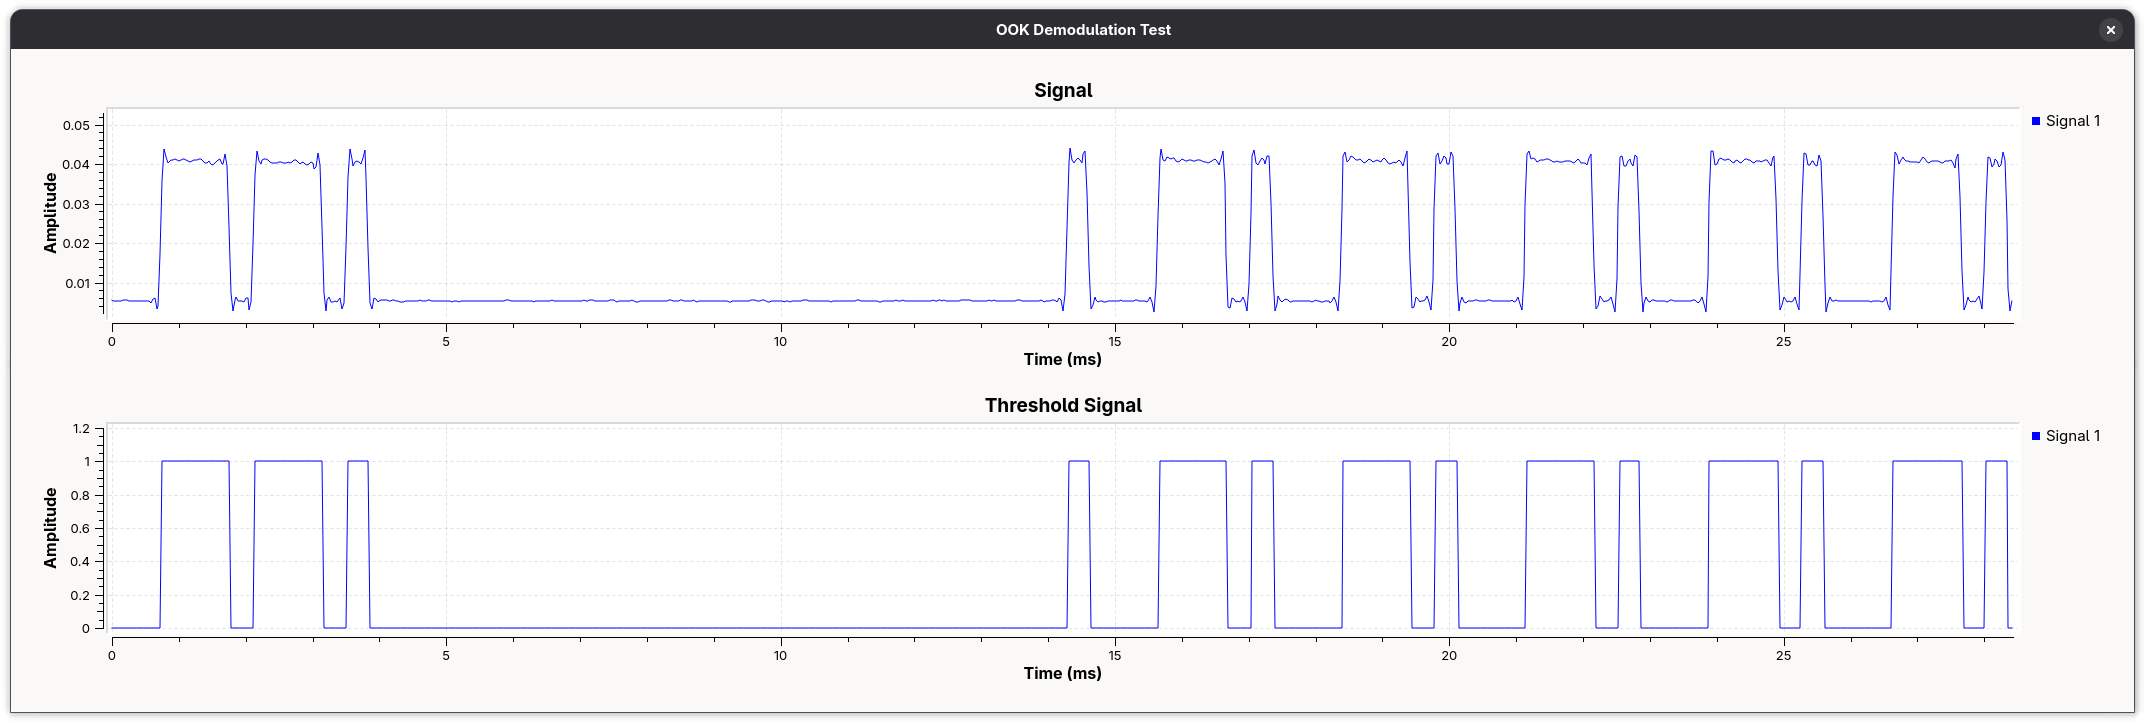
When we run execute the flowgraph, we see our two QT GUI Time Sink blocks. Unlike the other blocks in the flow graph which are either performing I/O operations or signal processing operations, these ones are essentially GUI widgets that run at execution time. We can see our “regular” Signals amplitude being plotted vs. time in the top graph, and the output of our Threshold block being graphed in the same way on the bottom. The original signal is dirty and full of very inconvenient (but also very real) imperfections.
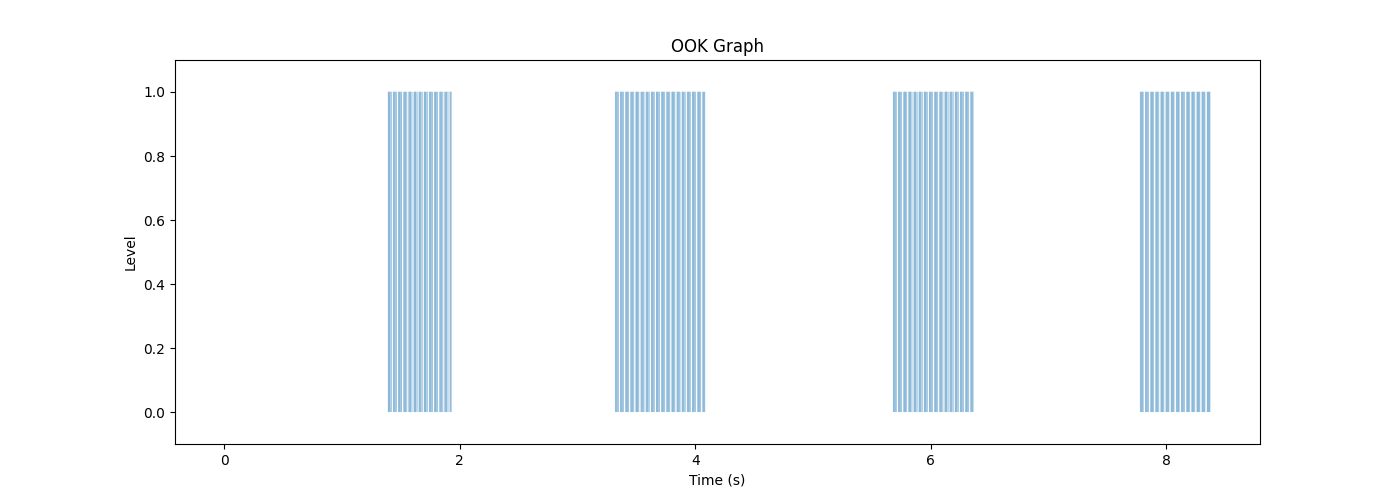
Now we have exactly what we want: binary data. Sort of. We’ve got the signal reduced to 1s and 0s, but that’s hardly the full picture.
Decoding OOK (by hand)
| Value | Hexadecimal | Binary |
|---|---|---|
| Key | 0x0055550C | 01010101 01010101 00001100 |
| Yek | 0x0030AAAA | 00110000 10101010 10101010 |
01010101 01010101 00001100
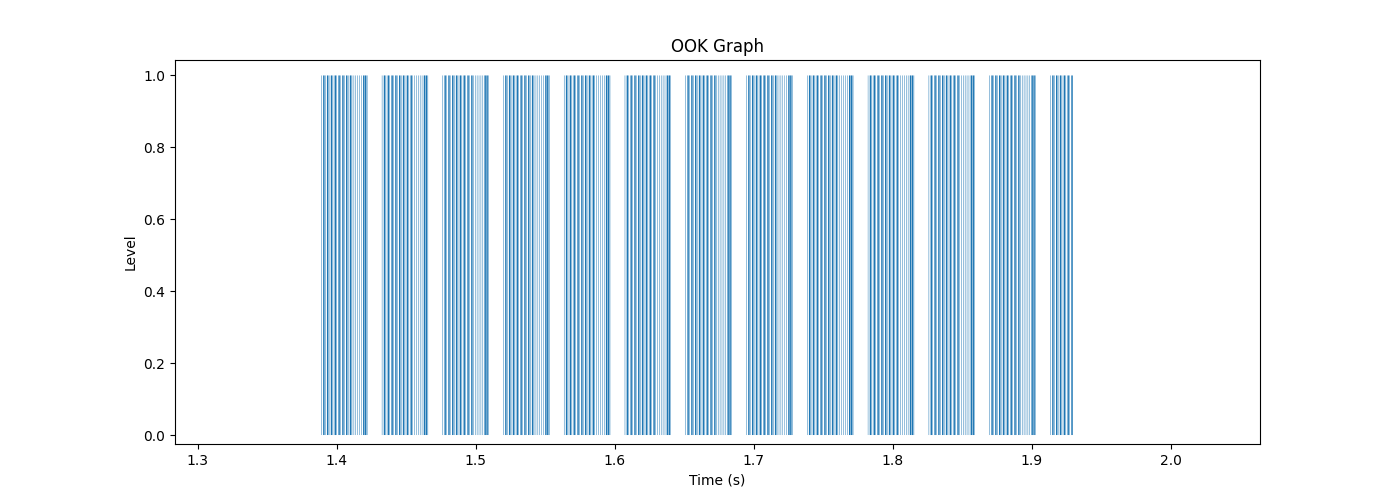


The stream of bits we end up with is: 01010101 01010101 00000011 0. Keep in mind that what we were supposed to decode was 01010101 01010101 00001100. So what’s gone wrong? I uh, I actually don’t know. My first guess would be something wrong with our flowgraph.
Conclusion
This is as far as I got with this before I decided to put this project on the shelf. I’ll likely revisit this later. I’ve since done some work creating a DTMF decoder in GNU Radio, so hopefully I’ll be able to revisit this with a better skillset and solve it.